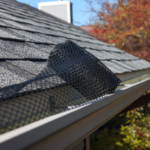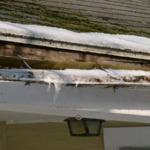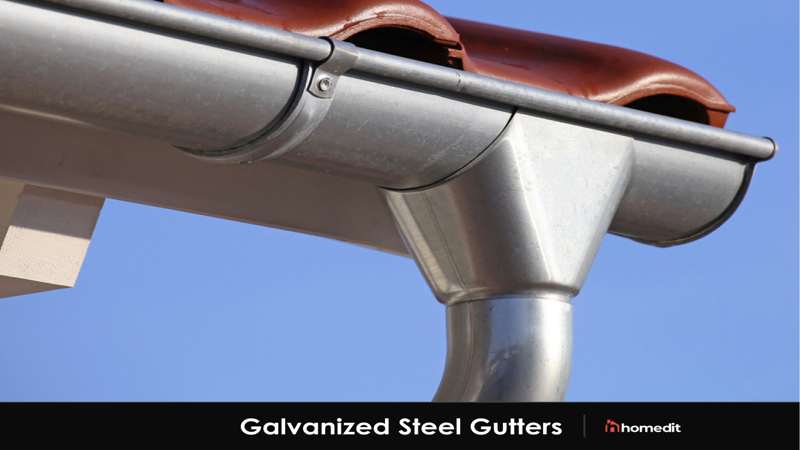
- Choose the right gutters for your home. There are a variety of gutters to choose from, so it’s important to select the right ones for your home’s needs. If you live in an area with a lot of trees, you’ll want to choose gutters that are designed to handle leaves and debris.
- Measure your gutters. Once you’ve selected the right gutters for your home, it’s time to measure them. This is important to ensure that your gutters will fit properly.
- Cut your gutters to size. After you’ve measured your gutters, it’s time to cut them to size. This can be done with a saw or a power cutter.
- Install your gutters. The final step is to install your gutters. This can be done by yourself or with the help of a professional.
What is the rule of thumb for gutter installation?
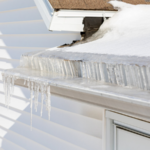
There is no definitive answer to this question as it depends on a number of factors, such as the type of gutters you are installing, the size and pitch of your roof, and the climate in your area. However, as a general rule of thumb, it is generally recommended that gutters be installed at least every two feet, and more frequently if you live in an area with a lot of rainfall or snowfall.
What is the rule of thumb for downspouts?
There is no definitive answer to this question as there are a number of factors that can affect the size and number of downspouts needed for a given drainage system. However, a general rule of thumb is that for every 10 feet of roofline, you will need one downspout. So, for example, if your roofline is 100 feet long, you will need 10 downspouts. Additionally, it is typically recommended that downspouts be placed at least 2 feet away from the foundation of the house to minimize the risk of foundation damage.
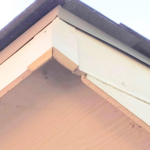
How is a gutter attached to a fascia board?
- Using a chalk line, mark the desired position of the gutter on the fascia board.
- Cut a hole in the fascia board to allow the gutter to be inserted.
- Slide the gutter into the hole in the fascia board.
- Using screws or nails, attach the gutter to the fascia board.
How far below drip edge should gutters be installed?
It is generally recommended that gutters be installed so that they are at least 2 inches below the drip edge of the roof. This will ensure that water will not be able to drip down behind the gutters and cause any potential damage. It is also important to make sure that the gutters are properly secured so that they will not come loose and cause any further damage.
Do you nail or screw gutters?
When it comes to nailing or screwing gutters, there is no definitive answer. It really depends on the preference of the installer and the type of gutter system being installed. Some installers prefer to use nails because they believe it creates a more secure connection. Others prefer screws because they are easier to remove and replace if necessary. Ultimately, it is up to the installer to decide which method they prefer.
How much should a gutter drop every 10 feet?
A gutter should drop about 2 inches for every 10 feet. This allows the water to flow properly and prevents it from pooling in the gutter. If the gutter is not sloped properly, the water will not drain properly and can cause the gutter to overflow.
How much gap should be between gutter brackets?
There is no definitive answer to this question as it will depend on the specific installation and the preferences of the installer. However, as a general guide, it is typically recommended that there is a gap of around 1/4 inch (6 mm) between gutter brackets. This will allow for any movement or expansion of the gutter system while still providing adequate support.
What is the proper gutter position?
The proper gutter position is the placement of the gutter on the outside edge of the building. The gutter should be placed at the bottom of the roof so that it can catch the water that runs off the roof and redirect it away from the building.
Last Word
If you’re looking to install gutters on your own, be sure to follow our step-by-step guide. This way, you can avoid any stressful surprises and have a successful installation.